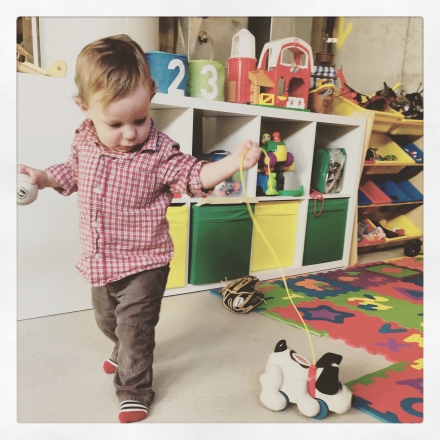
Chase, my oldest son is a busy boy. I often joke that he is appropriately named and a perfect example of a self-fulfilling prophecy. As much as I appreciate and nurture this quality, there are times I need to reel it in, especially now that I have taken on the role of stay-at-home-mom for the year and have another baby to tend to. There is nothing more suitable for a busy boy than busy bags!
Busy Bag – A bag containing a quiet activity designed to keep kids occupied or busy for a period of time
Here are some of the reasons why you need busy bags in your life:
- they provide peace & quiet when other kids are napping, or when you need a well deserved break from chaos

- they keep kids occupied when you are busy making a phone call, cooking, paying the bills etc.
- they encourage learning through play – letters, spelling, numbers, counting, math, colors, patterns etc.
- many activities help kids practice fine motor skills
- they provide sensory stimulation
- they can help kids develop focus and attention
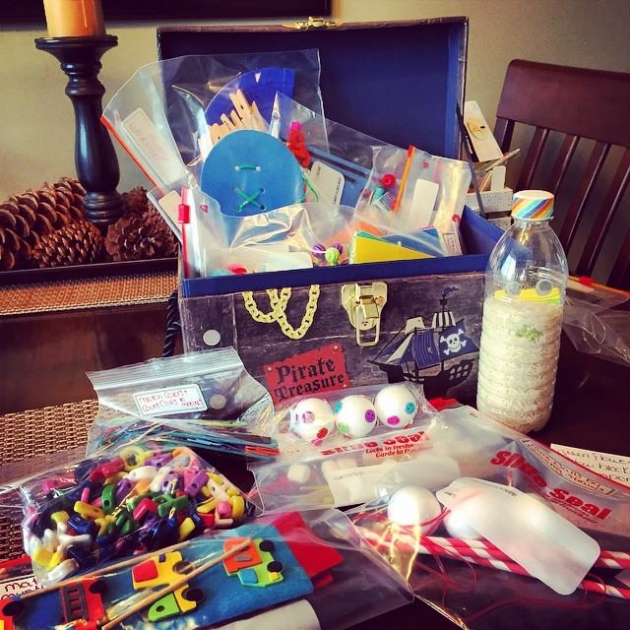
There are tons of ideas for creating handmade busy bags on Pinterest and the internet. Check out my Kids Stuff Pinterest Board that helped get my creative juices flowing. After browsing some of these online resources, I began to scrounge my craft room and office to pull together anything I had on hand that could be used i.e. paper clips, novelty tacks, felt, popsicle sticks etc. This was followed by a fun and exciting visit to the Dollarama and Michaels to pick up other random supplies that piqued my inspiration. Once I had a good assortment of materials on hand, I entered a state of creative bliss and spent about 6 hours one fine evening, pulling together 42 busy bags (22 different bags x2). I gave one set of busy bags to my mom friends as gifts. Move over Melissa & Doug! Many of the busy bags I created were cheaper homemade versions of popular toys that you can find in the stores. Here are 5 simple busy bags that beginners can create on a dime:
1) Marshmallow Construction
Get creative building shapes and 3D structures with dried spaghetti noodles and marshmallows.
You need:
- marshmallows – large or miniature
- dried spaghetti or fettuccine noodles
Instructions:
Use marshmallows as connectors by pushing raw noodles into them. Lay them flat to make shapes on the table or have fun balancing them as your build standing structures.
2) Scavenger Hunt
Enjoy the ultimate sensory experience by finding the hidden treasures in a bottle of rice by shaking, rotating and twisting the bottle.
You need:
- paper or cardboard
- clear juice or water bottle, cleaned and completely dry
- dry uncooked rice of any kind
- washi tape (optional)
- small treasures i.e. pompom, beads, small toys, paperclip, wooden shapes, safety pin
Instructions:
Make a list of the small treasures you’ve collected on a piece of cardboard. Fill the bottle with rice and add the small treasures. Secure the cap on the bottle and cover with colorful washi tape.
 3) Color Sorting
Practice color recognition, sorting and fine motor skills by sorting beads or objects into the correct color compartments of an egg carton.
You need:
- the bottom half of an empty clean egg carton
- markers or crayons
- assorted objects or beads
Instructions:
Color the bottom of each egg compartment a different color to match the colors represented in your collection of assorted objects or beads. Sort the objects or beads into the correct color compartment in the egg carton. We have wooden beads in our busy bag but you can use virtually anything small enough to be collected in an egg carton that comes in a variety of colors. We also use our egg carton for sorting Lego minifigure body parts too!
4) Alphabet Bead Lacing
Craft a creative necklace while practicing letter & color recognition, spelling and fine motor skills.
You need:
- assortment of colorful alphabet beads and other beads
- gymp or another stiff lacing string
- clasp or metal ring
Instructions:
Cut necklace length pieces of gymp and tie the end of them to a clasp or metal ring. You could also tie a large knot in one end. Get creative with spelling words and mixing combinations of beads and colors by stringing a necklace. Use the knot or ring to hold beads onto the string while lacing.
5) Popsicle Stick Counting
Stick the correct number of paperclips to the back of the numbered popsicle stick to practice counting and number recognition.
 You need:
- popsicle sticks
- flat magnet with adhesive backing that can be cut into small strips
- paperclips
- markers
Instructions:
Write a number on each popsicle stick. Cut the flat magnet into strips small enough to attach to the width and length of the popsicle stick. Adhere the magnet to the back of the popsicle stick. Count out enough paperclips to match the numbers on all of the sticks in your collection. Have the kids count out paper clips to match the number on the stick and attach them to the magnet.
I’ll be sharing more busy bag ideas in future posts so stay tuned!
10


